UV Printing Features of the Swiftpro RTP3000
and RTP6000 Retransfer Printers
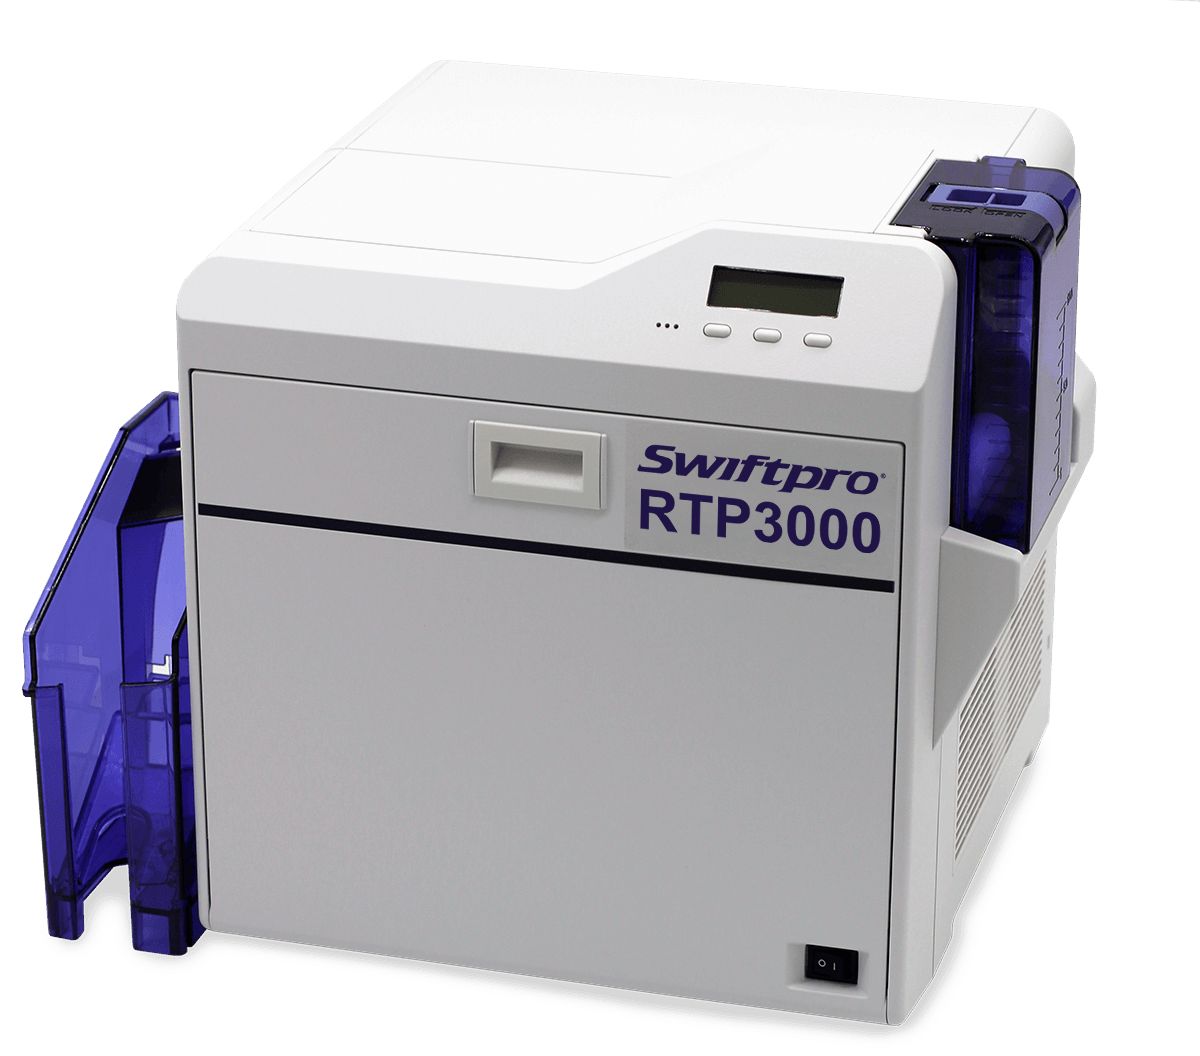
The Swiftpro RTP3000, 3000D and 6000 are retransfer card printers by Kanematsu. As you may have heard, Kanematsu acquired the company that manufactures the printers that many of you know as the “JVC” or “Matica” retransfer printers. The actual printer manufacturer named changed from JVC to G-Printec Inc. a few years ago (a.k.a., GPI). Kanematsu wholly owns GPI and has voluntarily created a private-branded version of the GPI printers for Swiftpro that feature a unique Swiftpro ribbon code.
The full line of printers and related supplies are available now, but a few Swiftpro resellers have inquired if “variable UV” printing is possible using these printers and the related driver. Variable UV implies the information printed with the UV (ultraviolet, or fluorescing) ribbon panel varies with every card. The varying information printed in UV can be something like the cardholder’s name or photo, or both. Of course, “static UV” implies the information, whether text or an image, does not change from card. Static UV is often used for things like company logos or state seals.
The Swiftpro RTP printers can print both static and variable information in UV on a card, and there are several different ways to do it. Below is short overview of the methods.
Extraction
This method works well for both static or variable info in UV. In the driver, you specify an exact RGB color value to be extracted from the print file, and anything destined to be printed in that RGB color will be printed with the UV ribbon panel. For example, consider something like an RGB value for lime green. Use that same RGB color value in your card design software to repeat a cardholder’s name in a different area of the card. Our printer driver will extract that lime green text and print it using the UV panel instead of the Y, M and C panels. Of course, this works equally well for static text. Just put the company name in the same odd RGB value, and it will be printed in UV.
Image File
Any image or data appearing in a Windows BMP file can be automatically printed with the UV ribbon panel instead of the Y, M and C panels. This method is often used to print a static image, like a company logo or a state seal, onto every card, but a software developer can also overwrite the file before each card is printed and use this simple BMP file to put a different UV image on each card. For example, the software developer could imbed or interlace a cardholder’s name and/or photo into a logo file and then save that to the named BMP, and then that variable info would be printed in UV on the card. There are X and Y coordinates in the driver to specify where to print the file on the card, and it can be on either card side. These files can be printed in monochrome UV (good for text) or 256 gradations of UV (good for photos) depending on the bit density of the BMP file.
Page Split
Another method to place static and variable UV images onto a card is to check a box in the driver called “Page split.” Then put everything you want to print with Y, M, C and maybe K on one page, and everything you want to print in UV on second page. For example, you could repeat the color photo of the cardholder in a smaller size and a different area in the second page layout, but if you ticked the Page split option in the driver, the second page would actually print on the front of the card and in UV. You also get to choose whether to use one or two sheets of retransfer film for this (the reasons why you might want to or have to choose two retransfer film panels are a topic for a future IDWIRE).
Several popular ID software makers have long-supported this page split approach, and they will allow you to develop a multi-page card layout for each card side. To better understand how this feature works, you can use something like Microsoft Word to test with. Choose the RTP printer as your printer and check that you have the right card dimensions. Then create a 2-page document in Word with sample text and/or images on page 1 and page 2 of the Word document. Then be sure to turn on Page split in the driver. Everything on your first Word document page will be printed on the front of the ID card in YMC (and maybe K, too depending on your driver settings), and everything in your second Word document page will be printed in UV on the front of the card. If you also want to print on the back of the card, just design a third page for the back of the card. If you wanted to also print UV on the back of the card, then create a 4th page for that.